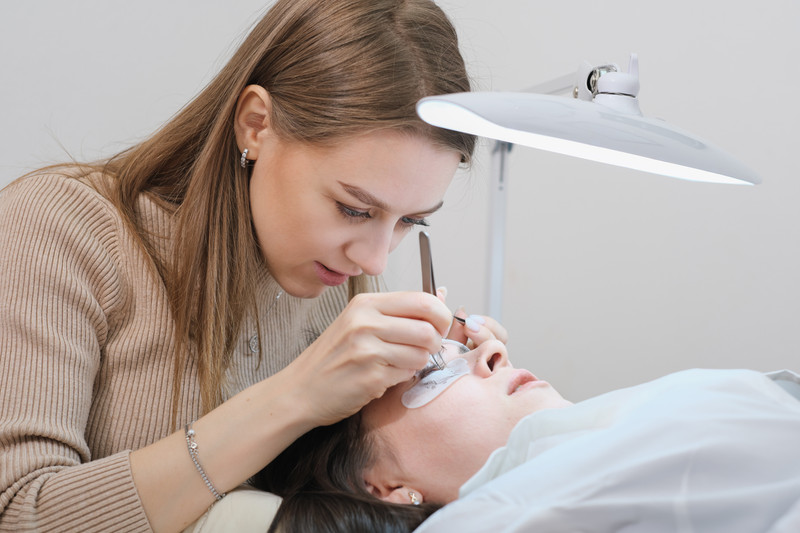
When we graduate from our lash certificate course, we are full of ambition and excitement. But once we've had a few 'real clients' (not family and friends who are just happy to receive free lashes), we find out there are SO MANY things we don't know how to handle.
As a beginner lash artist, you're not alone. Here, we have have compiled a list of common mistakes beginners make, and how to correct them.
Learn how to dramatically improve your lashing techniques by correcting small details!
Incorrect placement of eye patches

A simple step like eye patches can lead to a cascade of problems if done incorrectly.
Your client will feel very uncomfortable if the eye patches are placed incorrectly, as they will lift up and expose the inner corner lashes.
It's crucial that the eye pads never slide up and touch the waterline.This could cause a chemical burn or even bruising. You should be able to see a slight row of bottom lashes after placing the eye pad. This will leave room for the eye to close without the pad sliding up to the waterline.

It is important to prevent bloodshot eyes, you can do this by placing the pads at least 1-2mm below the bottom waterline.
How to use eye pads 101:
If the eye pad seems too big (especially if your client has deep set eyes) you can cut the bottom part of the eye pads off horizontally before attaching them. This will help prevent air pockets between skin and pad.
To conclude, beginner lash artists should (1) Use under-eye pads that fit the shape of the client's eyes, (2) Make sure the eye pads hold the bottom lashes down, and (3) use ones that don’t have too many added ingredients and anti-aging formulas that could irritate their clients' eyes.
Adhesive how much is too little or too much?

You might be using too much or too little lash extension glue if you're wondering why your client's lashes aren't lasting as long as they should.
It is important to avoid swiping the lash extension on the natural lash before applying the extension. This will create a poor bond because the glue will dry before it can get a good grip on the natural lash.
At the same time, you don't want a large ball of adhesive on the extension! A tiny bead at the base is sufficient. A small coating should cover 2 - 3mm from the bottom of the lash extension. More glue won't make for longer retention. Dip your extension into the glue dot and slowly slide out to make sure you're using the correct amount. *Dipping too fast will result in too much glue, where as dipping too slowly won't result in enough. Practice makes perfect!
If you have too much glue on the extension after dipping into the glue dot, re-dip a little slower into the middle of the glue dot and slide it out slowly. This will remove some of the glue and should give you just the right amount. Otherwise, if you try to wipe the glue off onto the eye pad or onto the pallet there may not be enough glue for a good bond. *If using a glue ring - never wipe off excess glue on to the rings' side before applying your lash extension.
Isolating the "perfect lash"

Have you ever noticed that you spent quite a bit of time searching for that one perfect lash? It's not uncommon for new lash artists to spend a lot of time finding and isolating lashes. Of course, we all want to have only textbook-perfect natural lashes. The goal here is to extend every single natural lash, for a 100 percent coverage.
- Try using a "guide lash" if a short natural lash keeps interfering with your isolation (and your mind).By attaching a 0.07mm thin extension to the tiny natural lash, you will find isolation much easier since now you can see and separate it from the rest.
- Use both your hands to isolate a lash.
- Use layering method with tape
- Use a quality tweezers avoiding chunky dull tips
Extensions placed incorrectly

The distance from the lid is incorrect. It takes a lot of practice to get the right distance from the lid. There are two common mistakes beginners make with lash extensions. They either are too close or too far from the lid. (Both are bad!) Lash extensions must be placed 0.5mm away from the skin along the lash line.
Attachment and distance tip for eyelash extensions:
The bonding area is too small
For the best bond the lash extension needs to be attached to the natural lash as much as possible.The more the extension is attach to the natural lash the better. The recommended attachment is between 2mm -3mm.
Let's talk about lash brushing

I like to call this the "pretty little lash syndrome".
The goal is to make our clients' lashes perfect at all times. But sometimes we have to hold back on the brushing. Fluffing lashes during application can take up a lot of unnecessary time, especially for newer lash technicians.
Beginner's tips for applying eyelashes

Before starting the application, consult with your client about the shape, curl and length they would like. Then decide on the curl, diameter and lengths you'll be using. You can write this down on each eye pad as a map. If possible ask your client is they have a photo of the look they are going for.
Have a check list
Getting started as a lash artist can be overwhelming, but we've created this checklist to help.
Check these things:
Lashes that are clean
Correctly attached eye pads
Temperature and humidity
Type and amount of adhesive
The ideal length and weight of lashes
A sufficient amount of surface area is attached
Aftercare for clients

